I Build Websites
That Bring You
Customers.
I build high-performance, multi-tenant websites for salons, clinics, and local businesses in Tier 2 & 3 cities. techtalkswithomee.com
I Turn Invisible Businesses Into Digital Magnets.
I specialise in building high-performance, multi-tenant websites that help local businesses grow. One robust system that powers premium client sites, each on their own domain, all deployed in minutes on Vercel.
My clients are local businesses in Tier 2 & 3 cities across India. Salons, clinics, coaching classes, restaurants — businesses that are great at what they do but invisible online.
Every site I ship comes with WhatsApp lead capture, Google Business setup, and monthly analytics so clients see real, measurable ROI.
My Process
Scrape & Identify
Find businesses with no website or poor online presence in Tier 2 & 3 cities.
Setup in 24hrs
Optimized multi-tenant system means lightning fast delivery — sites go live the same day.
Deploy + Domain
Deployed on Vercel with a custom domain. SSL, CDN, and speed — all included.
Track & Report
WhatsApp clicks, call clicks, page views — clients see real, measurable growth.
What I Deliver
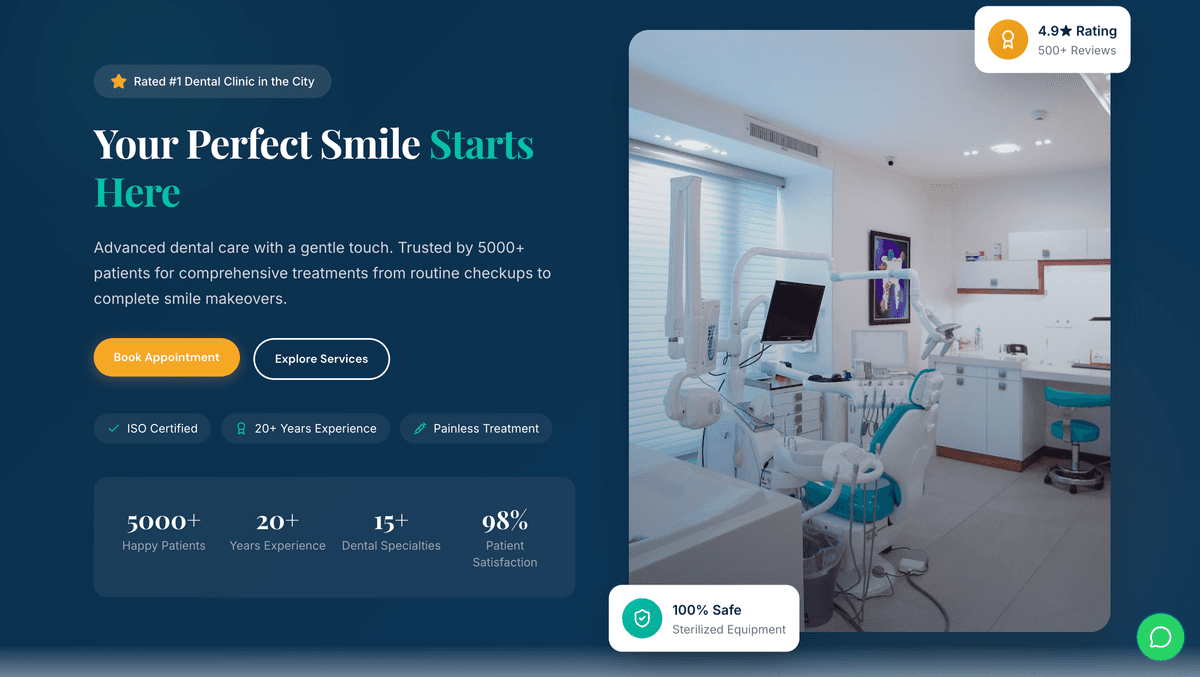
Business Website
Fast, mobile-first, config-driven websites. Built with Next.js 14. Live in 24–48 hours.
Next.js · TypeScript · VercelGoogle Presence
Setup Google Business Profile, local SEO, and Maps listing so customers find you first.
SEO · Google Maps · Local SearchWhatsApp Integration
One-tap WhatsApp button on every page. Leads arrive directly on the owner's phone.
Lead Gen · Conversion · Zero FrictionGrowth Tracking
Monthly report: page views, WhatsApp clicks, call clicks. Clients see real ROI.
MongoDB · Analytics · ReportsMy Stack
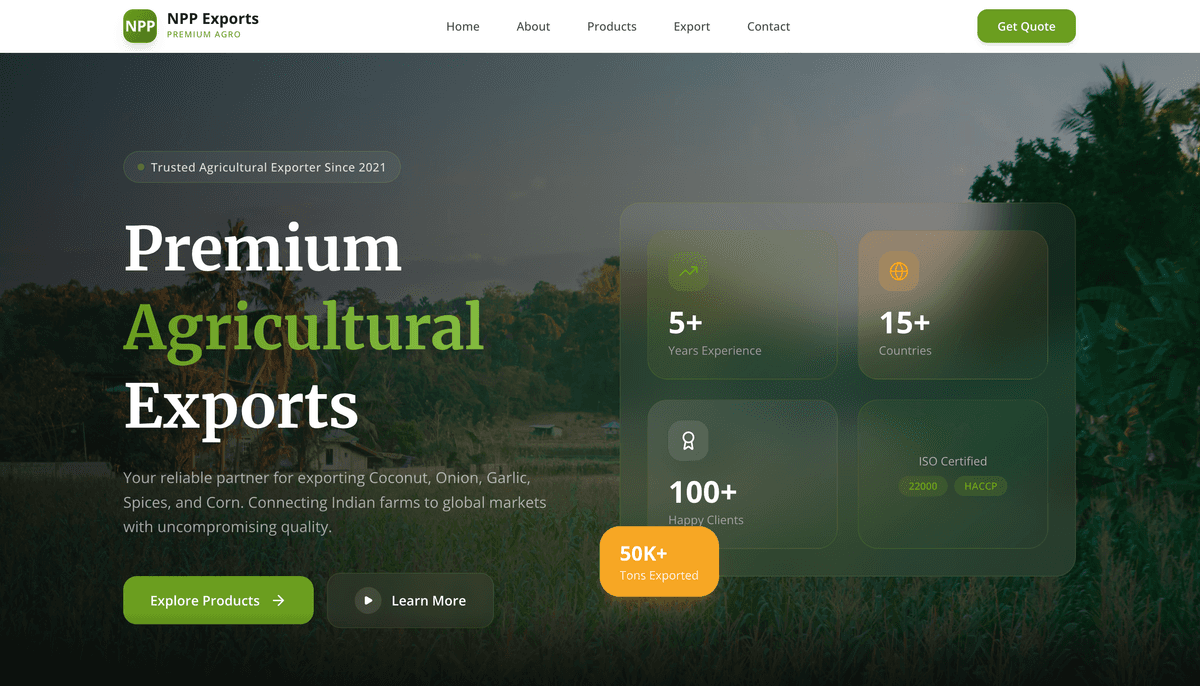
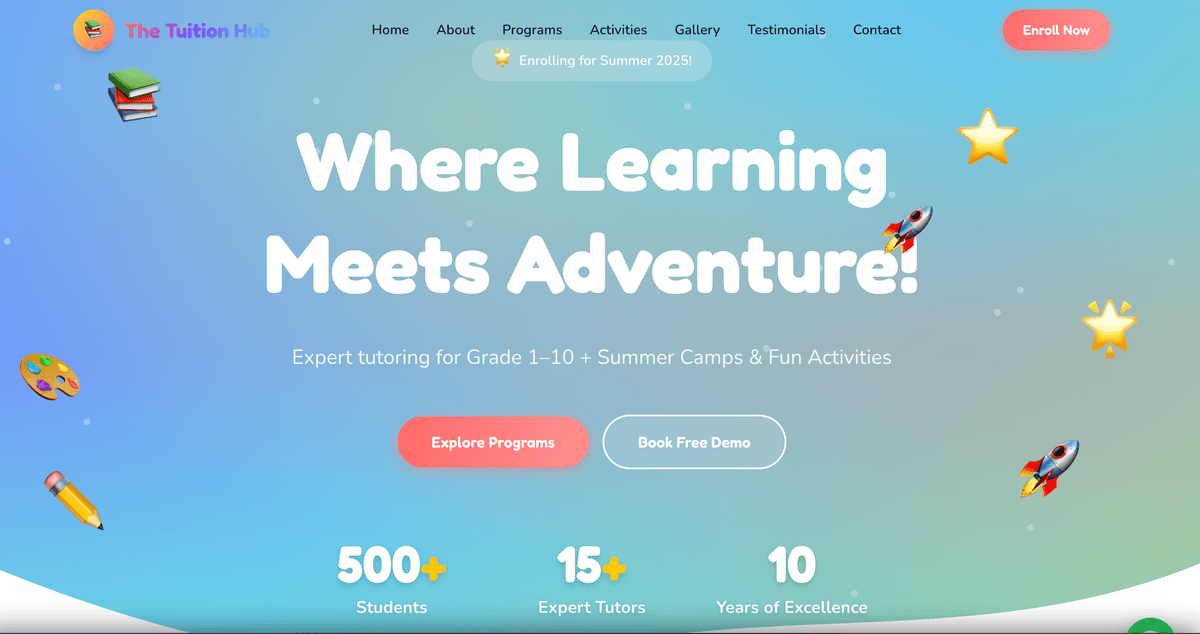
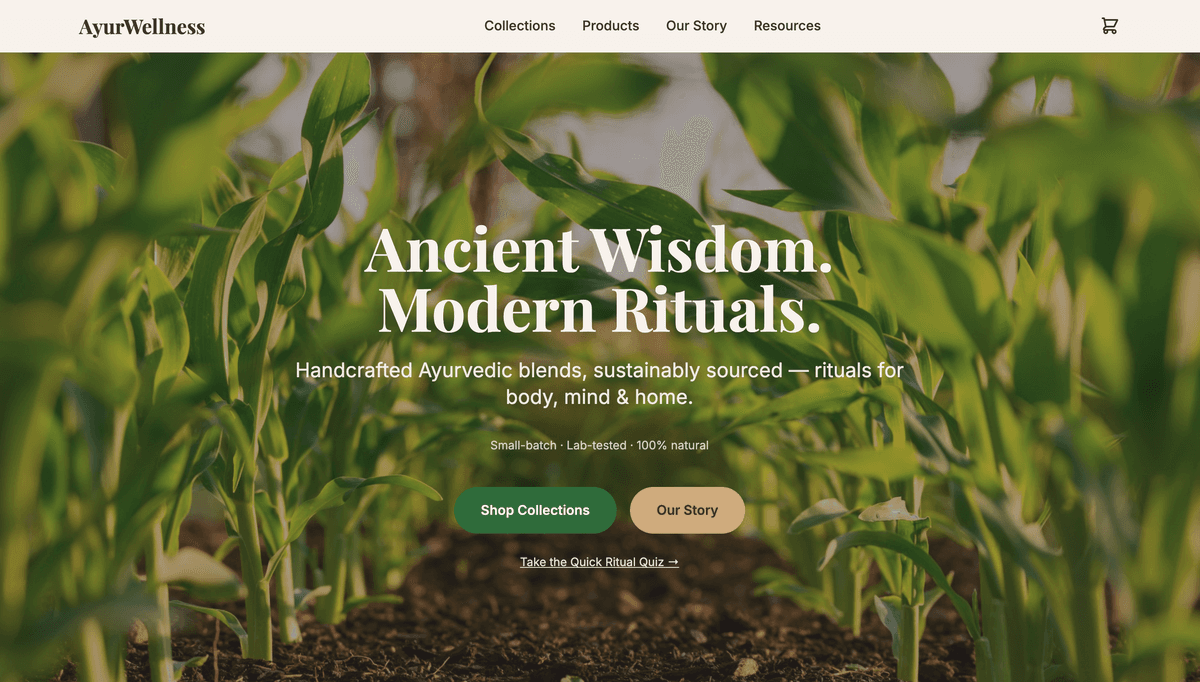
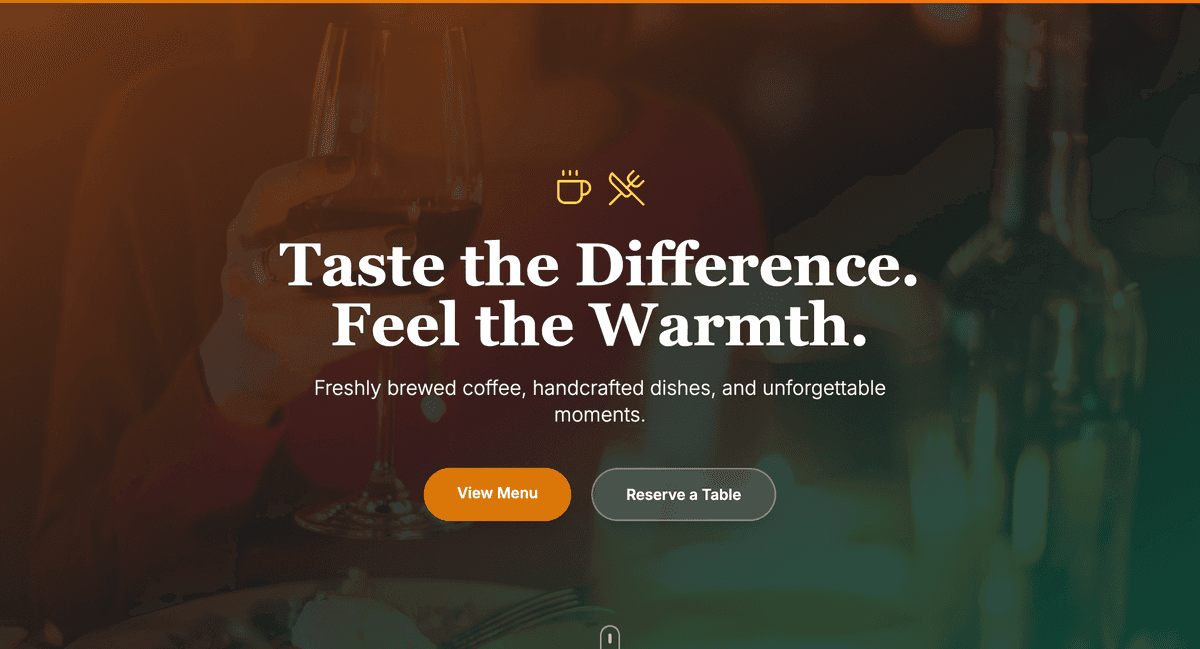
Projects & Client Sites
Hover to preview. Click to open live demo.

Ready to grow your business online?
I build fast, SEO-optimized websites that bring you customers. Starting at ₹3,999. WhatsApp me for a free consultation.
Is Your Business Invisible Online?
I'll have a working demo of your website ready within 24 hours. No commitment needed.
📱 9964185119 | ✉️ kaduromee@gmail.com